 Interactive audiovisual design
Walking Cycle Animation Tutorial in After Effects
Creating a walking cycle in After Effects without plugins may seem daunting at first, but with the right techniques, it can be achieved efficiently. Follow this step-by-step tutorial to animate a basic walking cycle for a character:
Step 1: Prepare Your Composition
Import Assets: Import your character artwork into After Effects. Ensure that the character is divided into separate layers for each moving part (legs, arms, torso, etc.).
Create Composition: Create a new composition by dragging your character artwork onto the "New Composition" button in the project panel. Set the duration of the composition to the desired length.
Step 2: Set Up Anchor Points
- Adjust Anchor Points: For each layer representing a body part, make sure the anchor point is positioned correctly. This point will serve as the pivot for movement.
Step 3: Animate the Legs
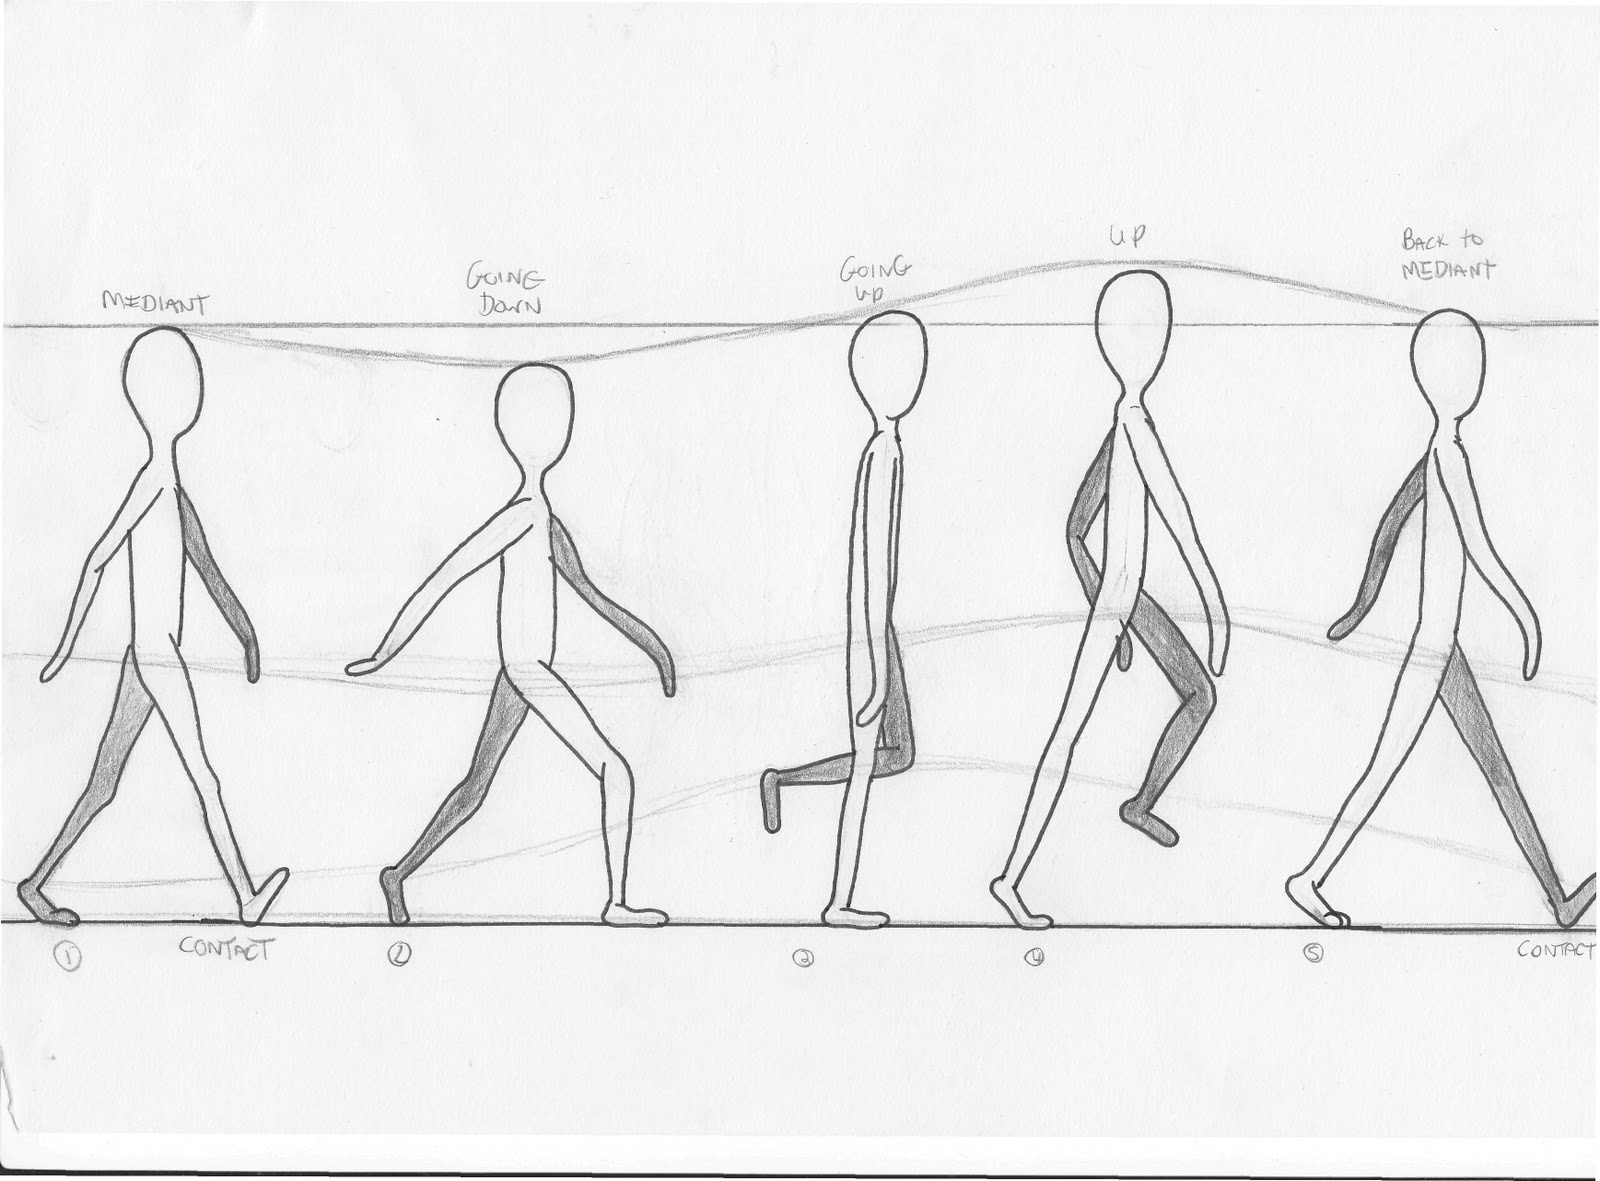
Start Position: Position the legs in the first keyframe of the walk cycle. Typically, one leg is forward while the other is backward.
Animate Forward Leg: Move the forward leg forward by rotating it slightly at the hip joint. Set a keyframe for the rotation.
Animate Back Leg: Move the back leg forward to meet the position of the forward leg. Rotate it slightly at the hip joint in the opposite direction. Set a keyframe for the rotation.
Adjust Timing: Adjust the timing of the leg movements to create a natural walking pace. The front leg should lift and swing forward as the back leg pushes off the ground.
Step 4: Add Body Movement
- Torso Movement: Create a slight up-and-down movement in the torso to simulate the body's natural motion while walking. Use the position property to achieve this effect.
Step 5: Repeat for Arms and Other Body Parts
Animate Arms: Follow a similar process to animate the swinging motion of the arms. Coordinate the arm movements with the leg movements for a realistic walk cycle.
Animate Head: Add subtle movements to the head to make the character appear more lifelike. This could include nods or bobs that synchronize with the steps.
Step 6: Loop the Animation
Adjust Timing: Fine-tune the timing of the animation to ensure a seamless loop. The end of the animation should smoothly transition back to the starting pose.
Enable Looping: To create a looping animation, ensure that the last keyframe of the animation matches the first keyframe. Adjust the timing as needed to achieve a smooth loop.
Step 7: Preview and Refine
Preview Animation: Play back the animation to check for any inconsistencies or unnatural movements. Make adjustments as necessary to refine the walk cycle.
Add Easing: Apply easing to keyframes to create more fluid motion. Use the graph editor to adjust the speed curves of the animation.
Step 8: Export and Use
Export: Once satisfied with the animation, export it using the desired settings. You can export as a video file or incorporate the animation into other projects.
Use in Projects: Incorporate the walking cycle animation into your projects, whether it's for a character animation, explainer video, or any other creative endeavor.